Table of Contents
Component Parts
There are several parts that make up the complete case for the Z88. These are listed, with possible fault symptoms.
The Display
If the display is cracked this is easy to replace but it is the most expensive item in the Z88. Symptoms are obvious. Cracked or broken glass, with oozing chemicals coming out of the display. Do not allow these chemicals to have contact with your skin. They cause cancer.
The Keyboard
The Z88 can work for a while before it becomes difficult to switch it On/Off with the Shift keys. Most problems like this are caused by the conductive rubber layer underneath the keyboard becoming removed. Keys like the cursor, delete and Shift keys, are the first to go.
I have read several interesting things that Z88 users have done to repair the keyboard. By far the best thing to do is to replace both the rubber mat and membrane simultaneously but failing this you can try the following:-
- Clean the membrane with a soft pencil rubber where the keys make contact.
- Carefully clean the underside of the keys but make sure you don't remove any more of the conductive rubber coating that is used.
There are no UK rubber keyboards or membranes left. You can fit a foreign key mat instead.
See Change Keyboard.
The Top and Bottom Case
You can get problems if the case becomes damaged internally, due to the Z88 being dropped. This can lead to short circuits occurring, rattling from inside the Z88.
UK Version
There are two versions of the case. The UK and most of the European cases are made out of black plastic.
USA Version
The USA version has the same plastic case from the outside but the inside is coated with a metallic finish. This improves the radio interference immunity so that the Z88 complies with the FCC regulations. Although this gave better RFI protection, this can lead to short circuits between the electronics and the case. This usually manifests itself after the Z88 has been reassembled.
Underneath the printed circuit board there is normally an insulated mat. This can get punctured by IC pins on the board. The solution is to cut all those pins off close to the board.
The other way shorts can occur is through the keyboard reaction plate. You should try to establish where the short is taking place, (easier said than done) and scrape the offending metallic part off the plastic making sure that no metallic bits fall anywhere near the electronics.
Shorts can also occur while you are plugging in the Mains Adapter.
Both have the same label on the back of the Z88 saying `Certified to comply with Class B limits Part 15 of FCC rules, ' so how can you tell the difference?
If you look into an empty card slot (where the RAMs and EPROMs are fitted), you should see either a black or a silver inside.
The Expansion Connector
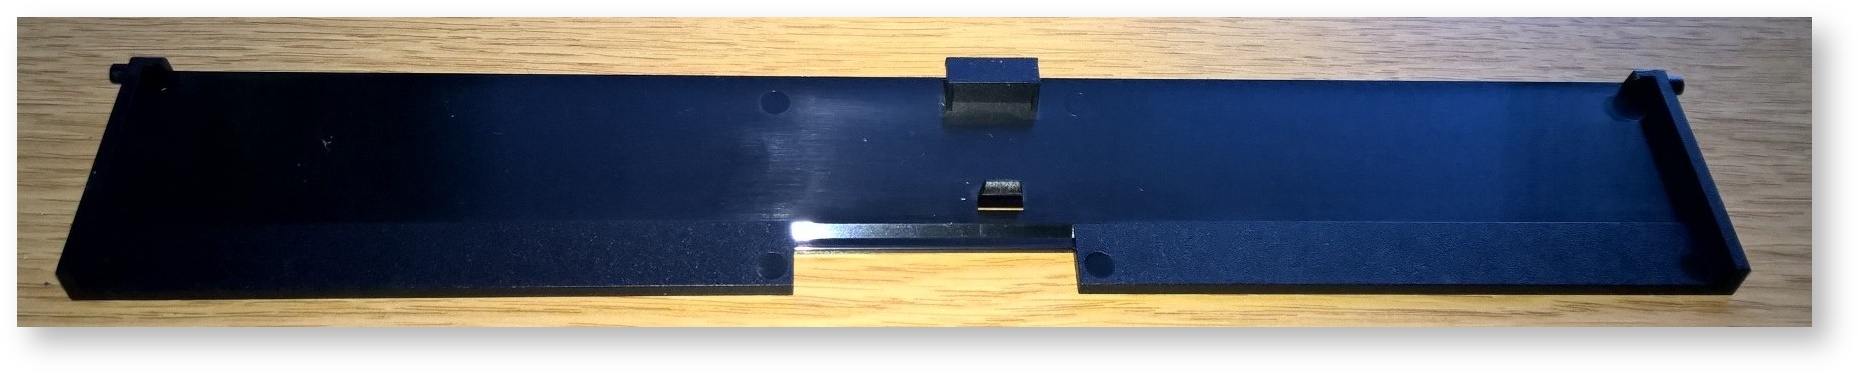
The first versions had a gold plated expansion connector with a removable flap. These were never used, probably because it could not be selected and it had connections going straight to the Z80 processor. In later versions, the removable flap became part of the case and the connector fingers were just tinned.
| Expansion Connector | No Connector |
|---|---|
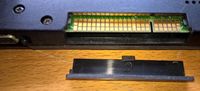 |  |
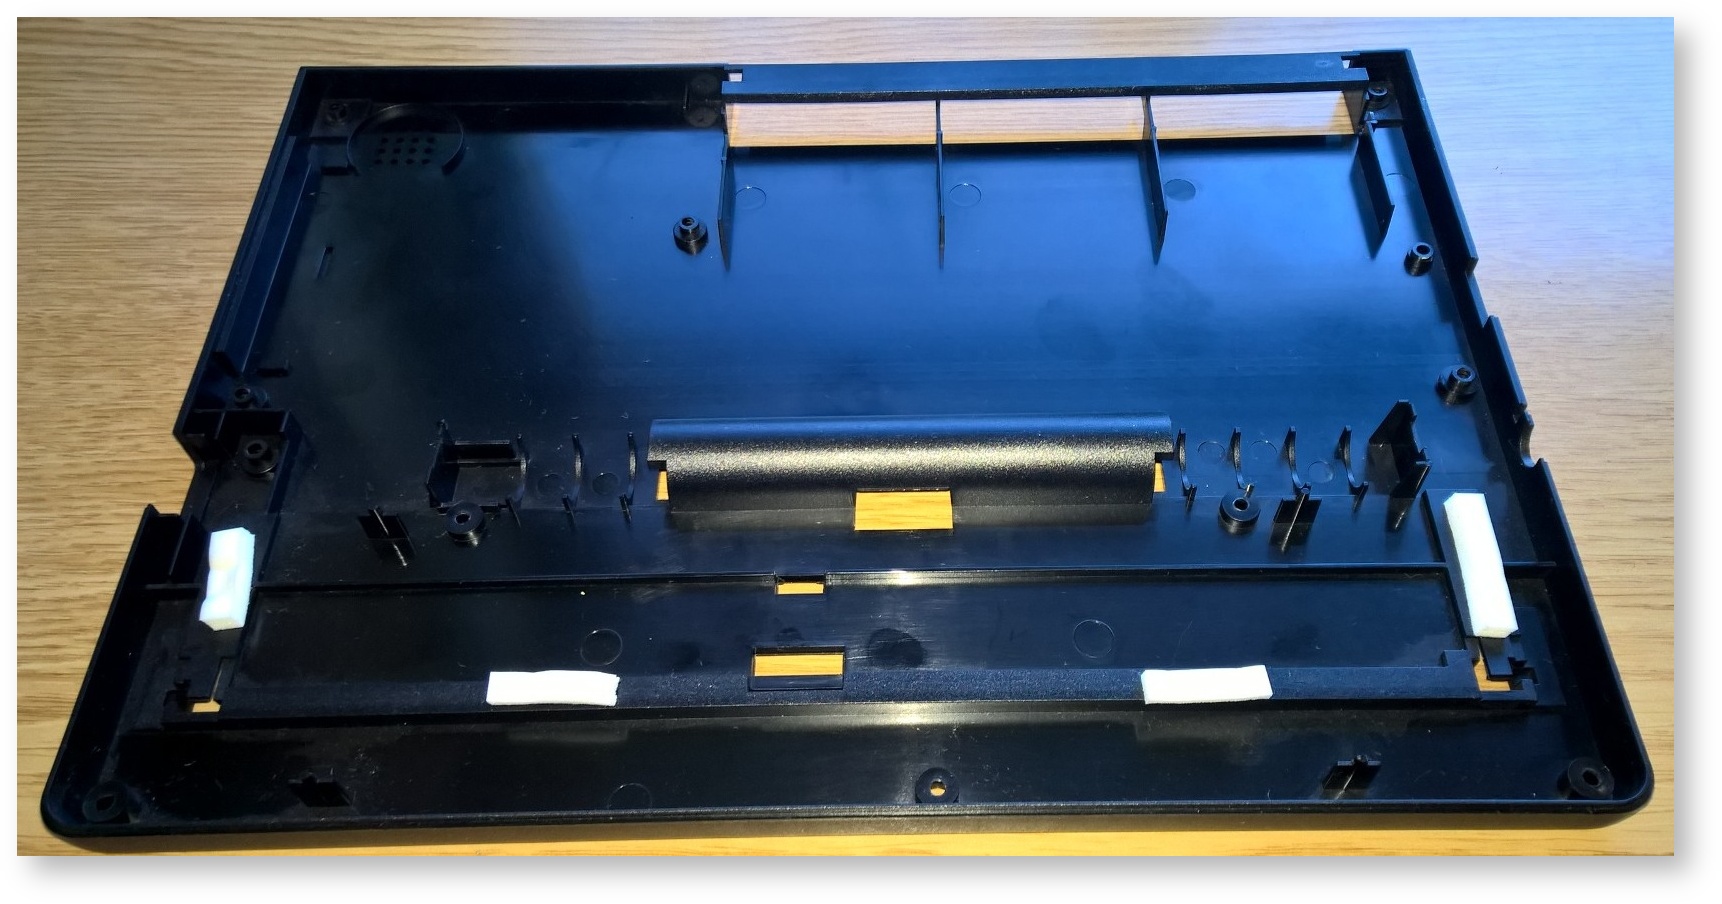
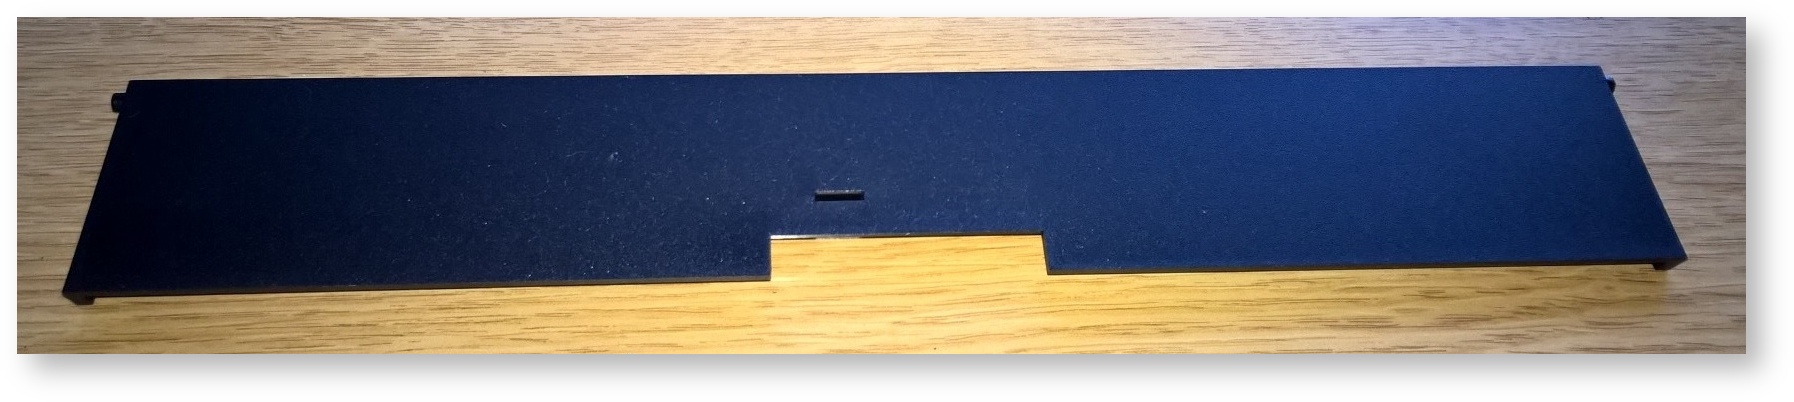
Top Case
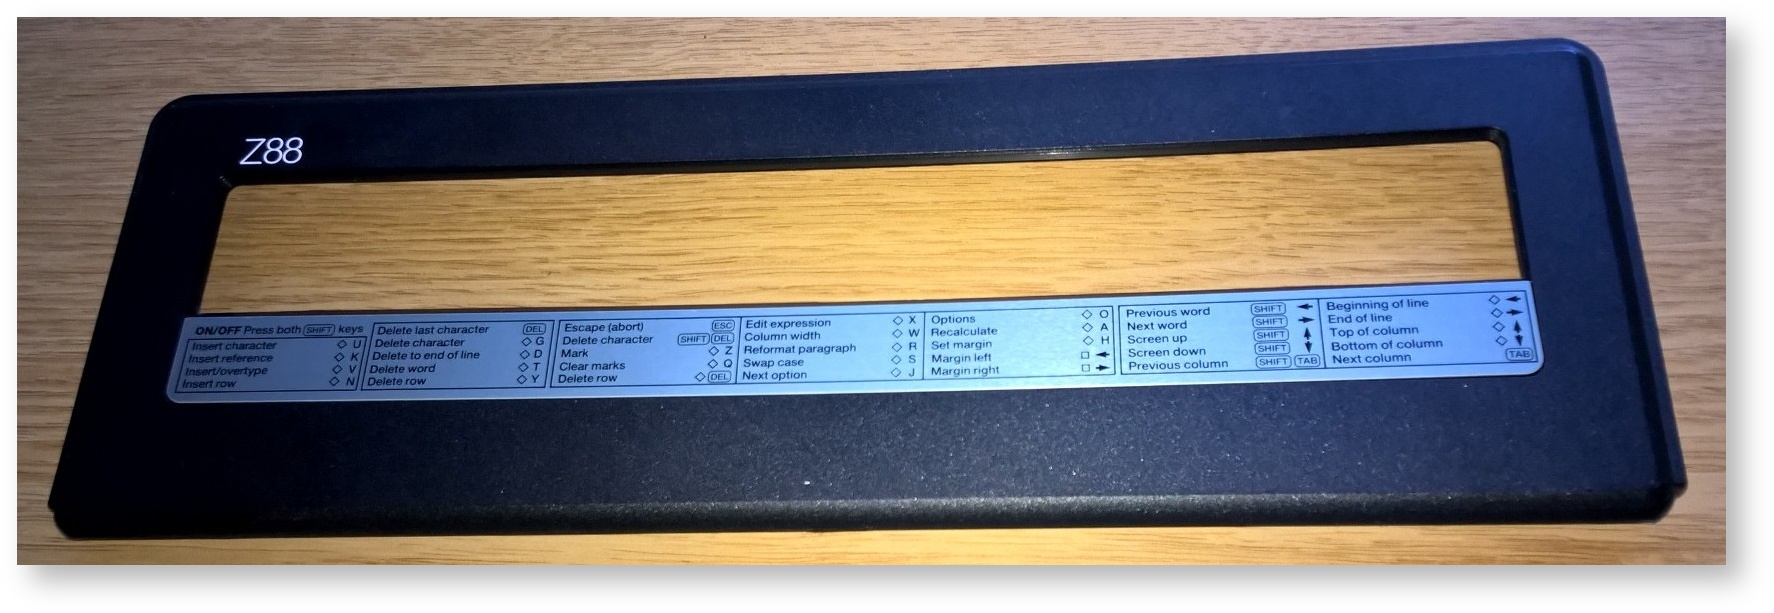
This also gives support to the display. Check that the four flat side supports for the display are still intact.
You can often tell if they are not there by noticing a broken plastic ridge where it was.
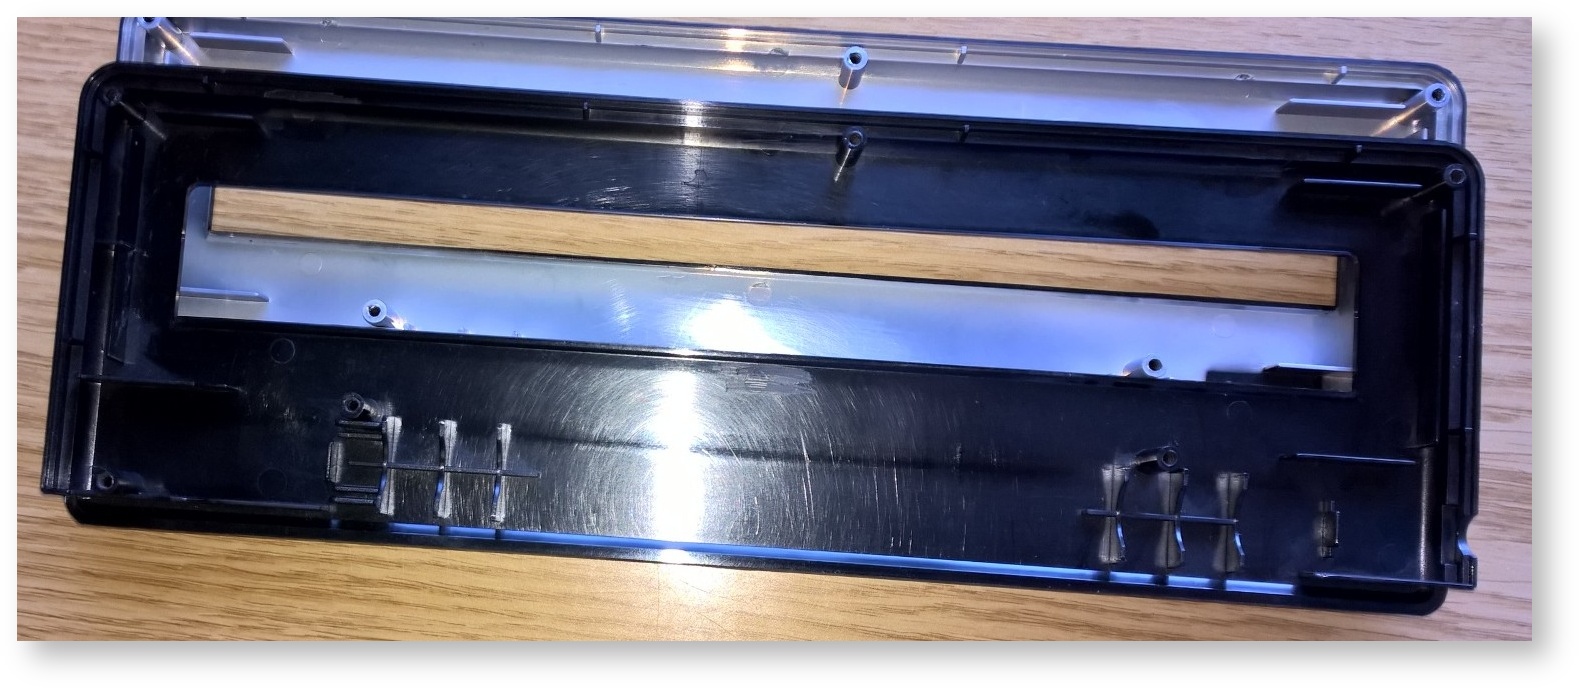
The USA version of this case is shown underneath.
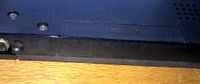
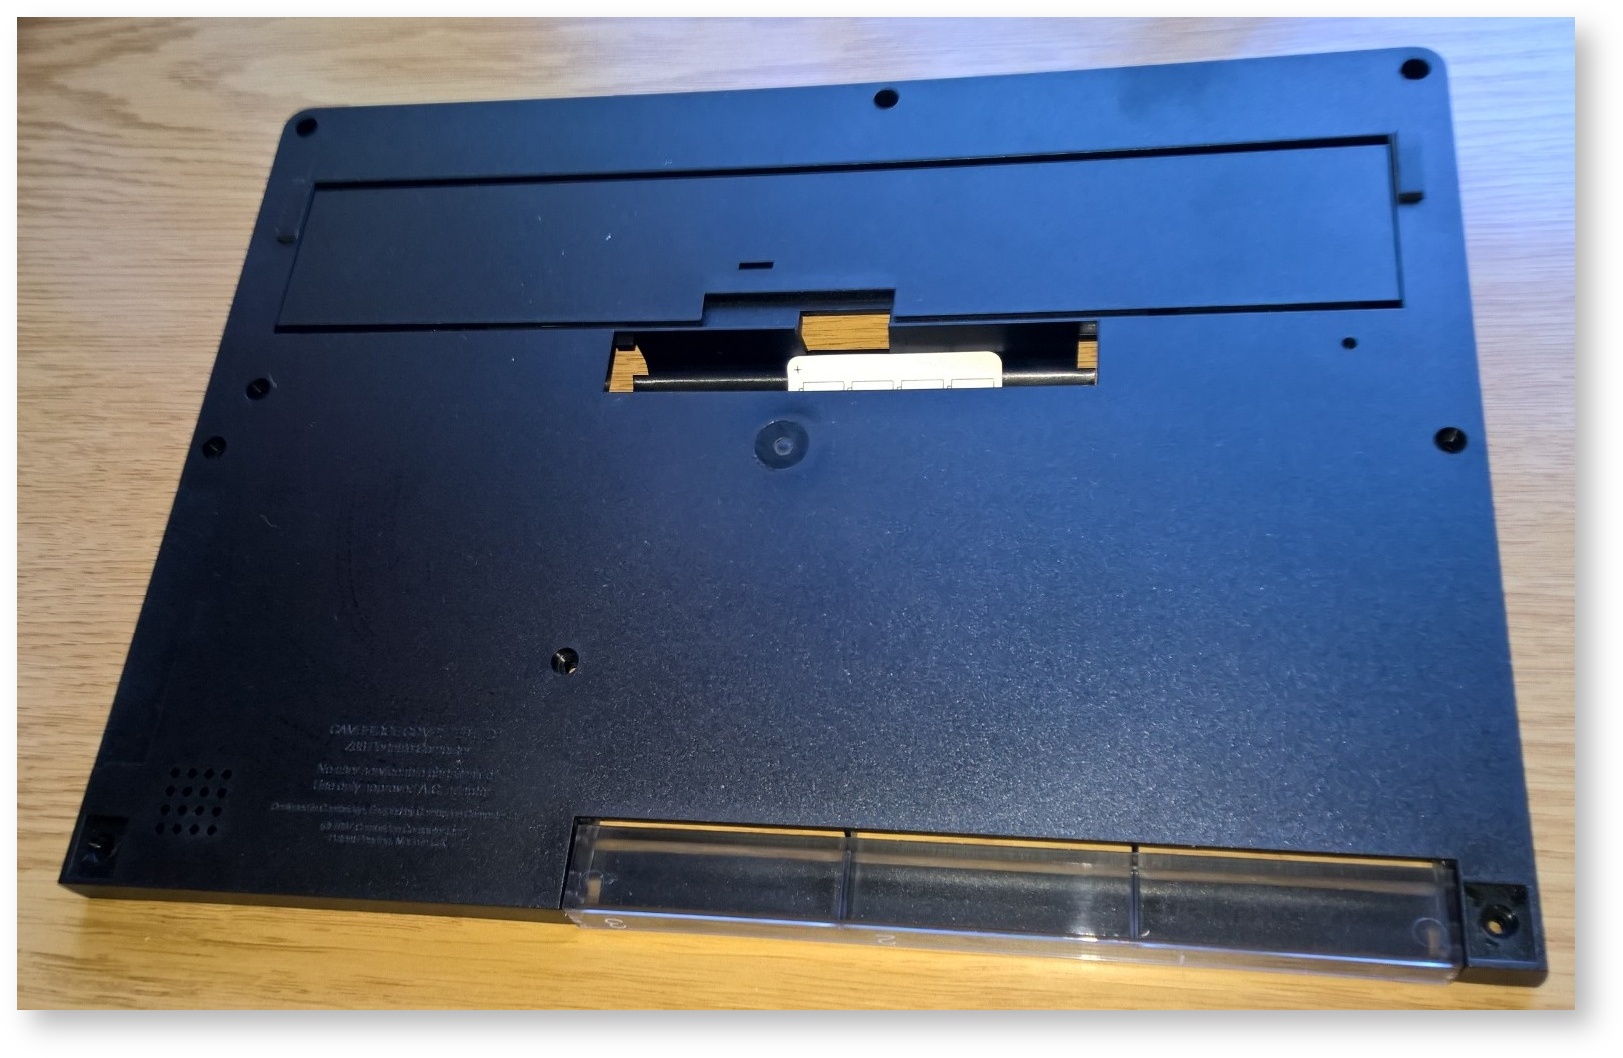
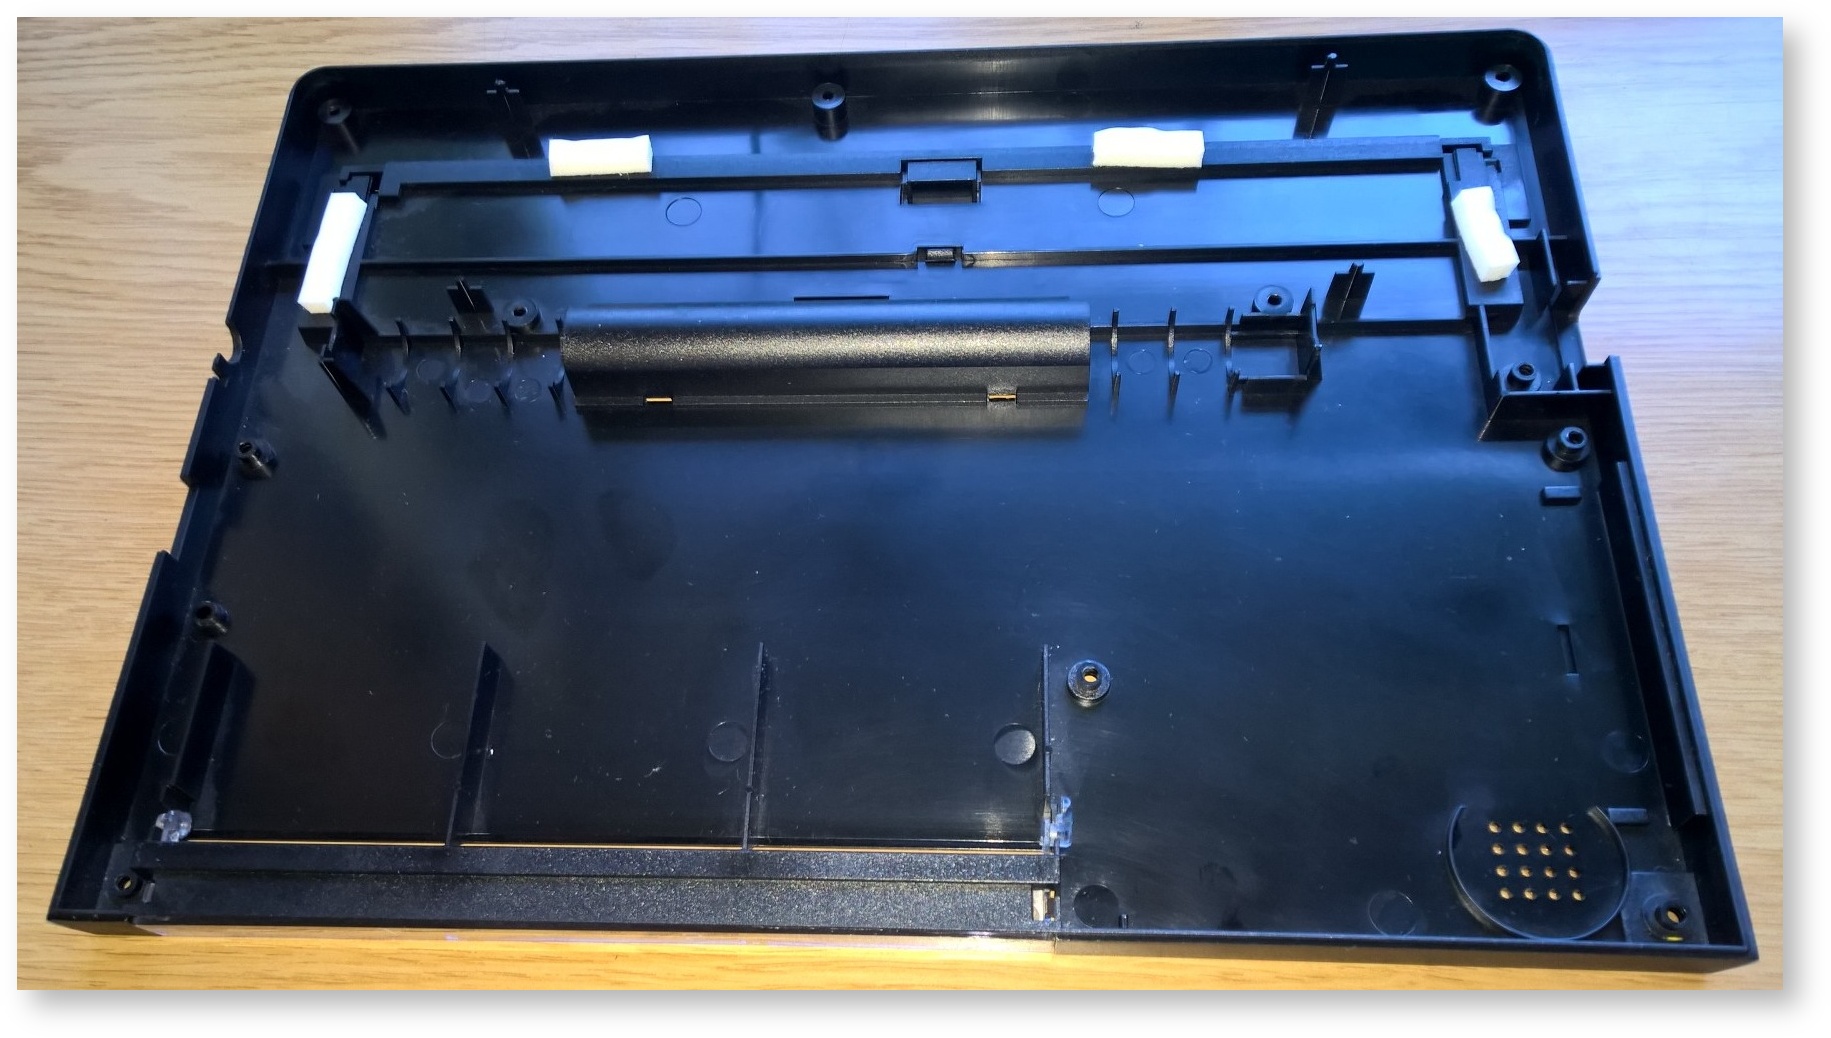
Bottom Case
The Display is the heaviest item in the Z88 and the least supported. Check that the four pillars that the display fits onto are still standing, with the rubber washers.
Check the plastic battery lugs (the bit that supports the springs). They sometimes get broken resulting in the Z88 not working on batteries or worst still shorting out the power supply.
 |  |
 |  |
Top Case
This also gives support to the display. Check that the four flat side supports for the display are still intact.
You can often tell if they are not there by noticing a broken plastic ridge where it was.
The USA version of this case is shown underneath.Plastic Leg
 The plastic lug behind the plastic leg often gets broken. The effect of this is that the leg always wants to flop down as there is nothing to hold it up when the leg is put away.
This item can be replaced without dismantling your Z88.
Removing & Fitting | |
| Fitting 1 | Fitting 2 & 3 |
|---|---|
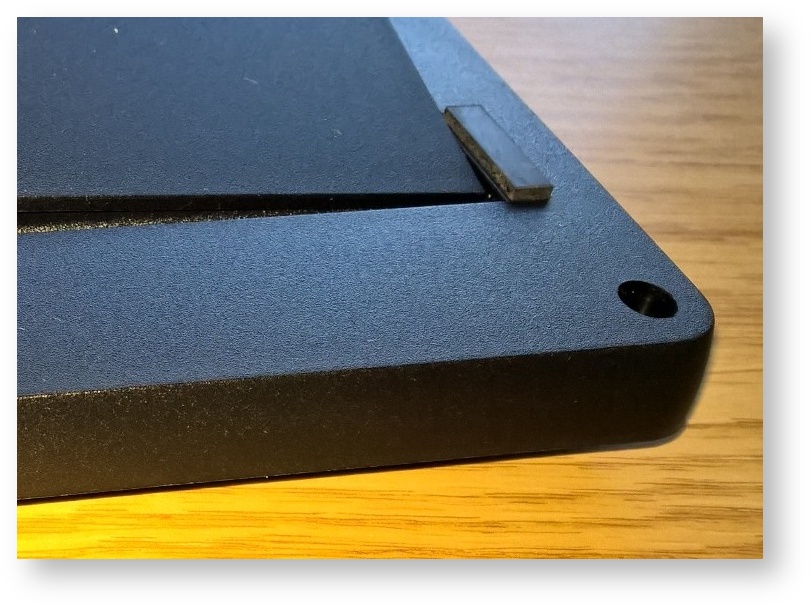 |  |
| Insert the pin into the bottom case at an angle. | Ensure the middle lug fits and stays into the hole in the bottom case. Fold the leg horizontally and flex it away from the case to allow the pin shown above goes into the hole. |
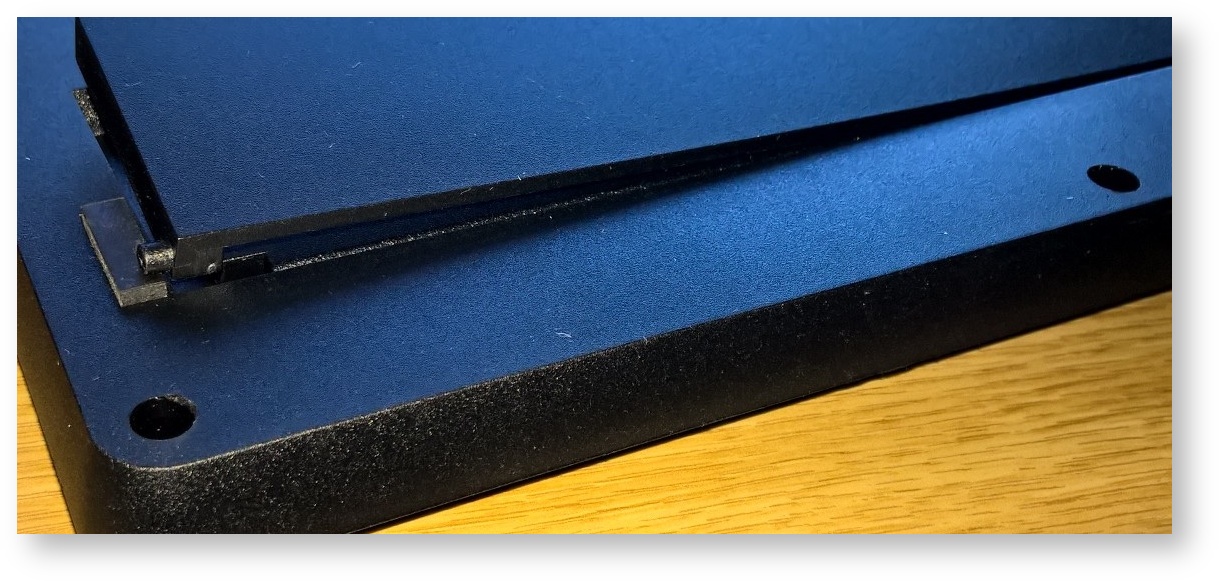
Card Flap
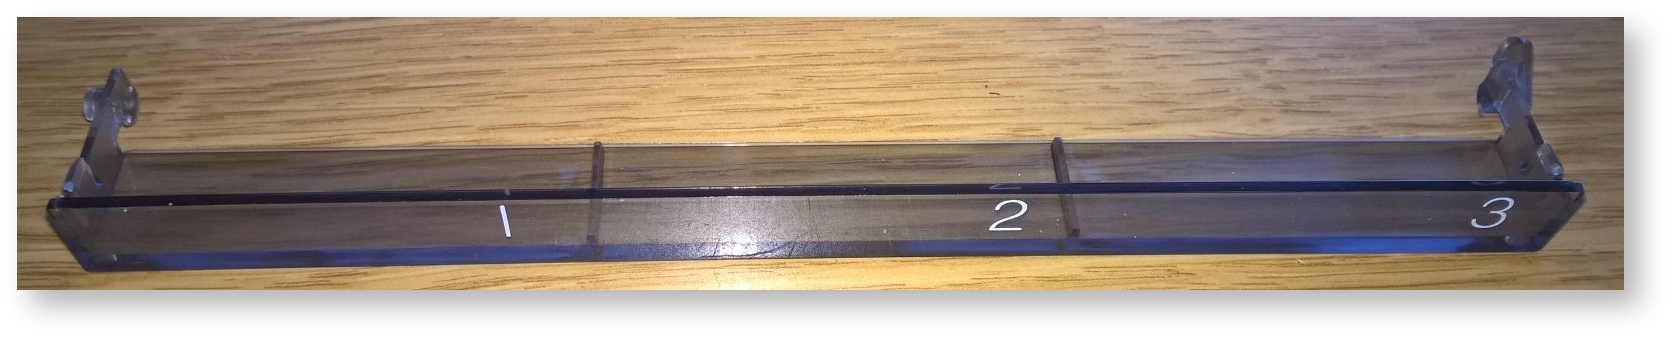
Removing & Fitting | ||
| Fitting 1 | Fitting 2 | Fitting 3 |
|---|---|---|
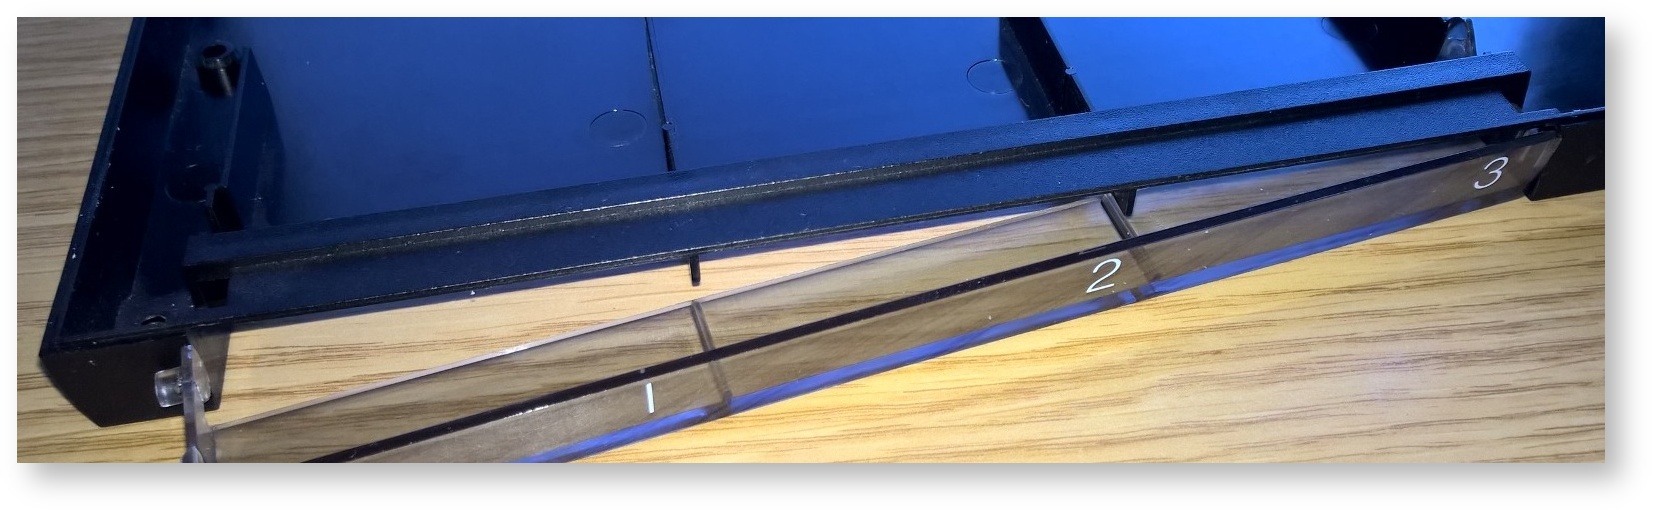 | 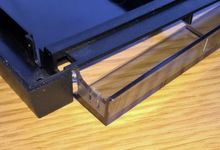 |  |
| Insert the card flap into the bottom case at an angle so the cam fits correctly in the case. | Push the pin on the card flap in so that it goes into the bottom case. | Push the card flap in so the pin clicks into the vertical slot as shown above. |
Normally, when the card flap is opened (with the Z88 turned on) the display goes out. This is because it operates a switch to let the operating system know that there are changes ahead.
If the display does not go out, then the card flap or the support from the "Reaction plate" is broken and should be replaced.
Rubber Feet
These fall off and can be easily replaced. Use double-sided tape so that the feet can still be removed when desired. Do not use SUPERGLUE on the front feet. You might need to get to the screws underneath them.
To change any of these parts yourself see Dismantling Your Z88.
The Z88 Electronics
This is not an area for the weak hearted Z88 user. If the Z88 appears to work and then does unexplained things, the printed circuit board may be faulty. Usually if they go wrong they show themselves within the year's guaranty period.
A good test here is to twist the Z88 longways. If the display goes out and comes on again or the fault occurs, some components may have `dry joints.'
You can also check Power Consumption as this can reveal some electronics faults.
Check Power Consumption
You can check the power consumption of your Z88. This can show up problems with either the keyboard or electronics.
All you need are the following:-
- An ammeter which can measure up to 300 mA.
- A double sided blank printed circuit board.
- Some wire and
- Two crocodile clips.
Cut the printed circuit board so that it will fit between the batteries in the Z88. Solder two bits of wire on each side of the printed circuit board. Fasten the crocodile clips to the other end of the wires.
To measure the current do the following:-
- Connect the crocodile clips to the probes of the ammeter.
- Place the printed circuit board between two batteries that you can get to (with the cover off).
- Check that the ammeter is measuring some current. If it isn't then you need to check why not quickly, since your Z88 will be starved of power and will die.
- Now you can do different things with your Z88, like turning it ON and take notes of the different readings.
See Power Consumption Table to compare your results.
Static Electricity
Static electricity is all around us. It does irreparable damage to low current electronic circuits, such as those used in the Z88. It can be also responsible for the Z88 doing a Soft Reset when you are inserting the Mains Adapter lead.
If you are a person that experiences electric shocks when grabbing metalling objects you need to take several precautions when plugging the mains adapter in or Dismantling Your Z88.
To get rid of static electricity, the object is to get all the parts that you are working with to the same voltage. This is normally done in the household by using the earth pin. As more items are made of plastic, you never get the chance to return to earth during the day. Here are a few tips that may help you.
Electronics Working
If you are Dismantling Your Z88 you should EARTH yourself and then the Z88 (by touching the metal part around the serial port) before you start any work. Both feet in a bucket of salty water connected to the radiator may be going a bit too far. Remove all insulating materials like nylon and rubber soles.