Invalidating Your Warranty
Your Z88 comes with a year's guarantee. This is invalidated once you open the Z88.
You should, if your Z88 is within the warranty period get in touch with your Z88 dealer before dismantling it.
If your Z88 is outside the guarantee period or its origin is questionable, then here is your chance to see what is inside.
Preparation
- Back-up your Z88. See Backing up Files.
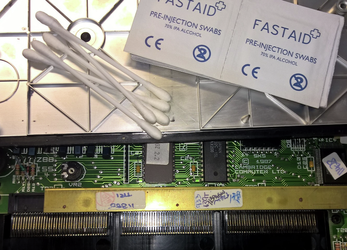
- Read the Static Electricity Section.
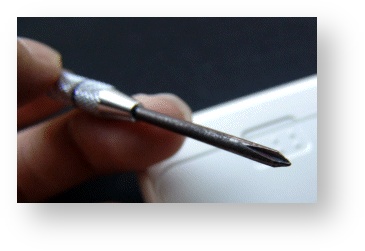
- Get a Philips screwdriver that fits the screws of the Z88
Taking it to bits
You do not need to take the Z88 all to pieces to replace certain items. This can be done in two steps. These points will be highlighted with what you can do there. Otherwise, just continue.
You should take care with the display unit as this is fragile and will move about after the screws have been removed.
Step 1
- Place the Z88 face down on a soft cloth larger than the Z88 like a towel.
- Remove the batteries.
- Remove the two square front rubber feet. This should reveal two more screws.
- You should now see TEN screws, the eleventh one is under the Serial Label. Undo SIX of them under the keyboard and keep them in a safe place. They are all the same type.
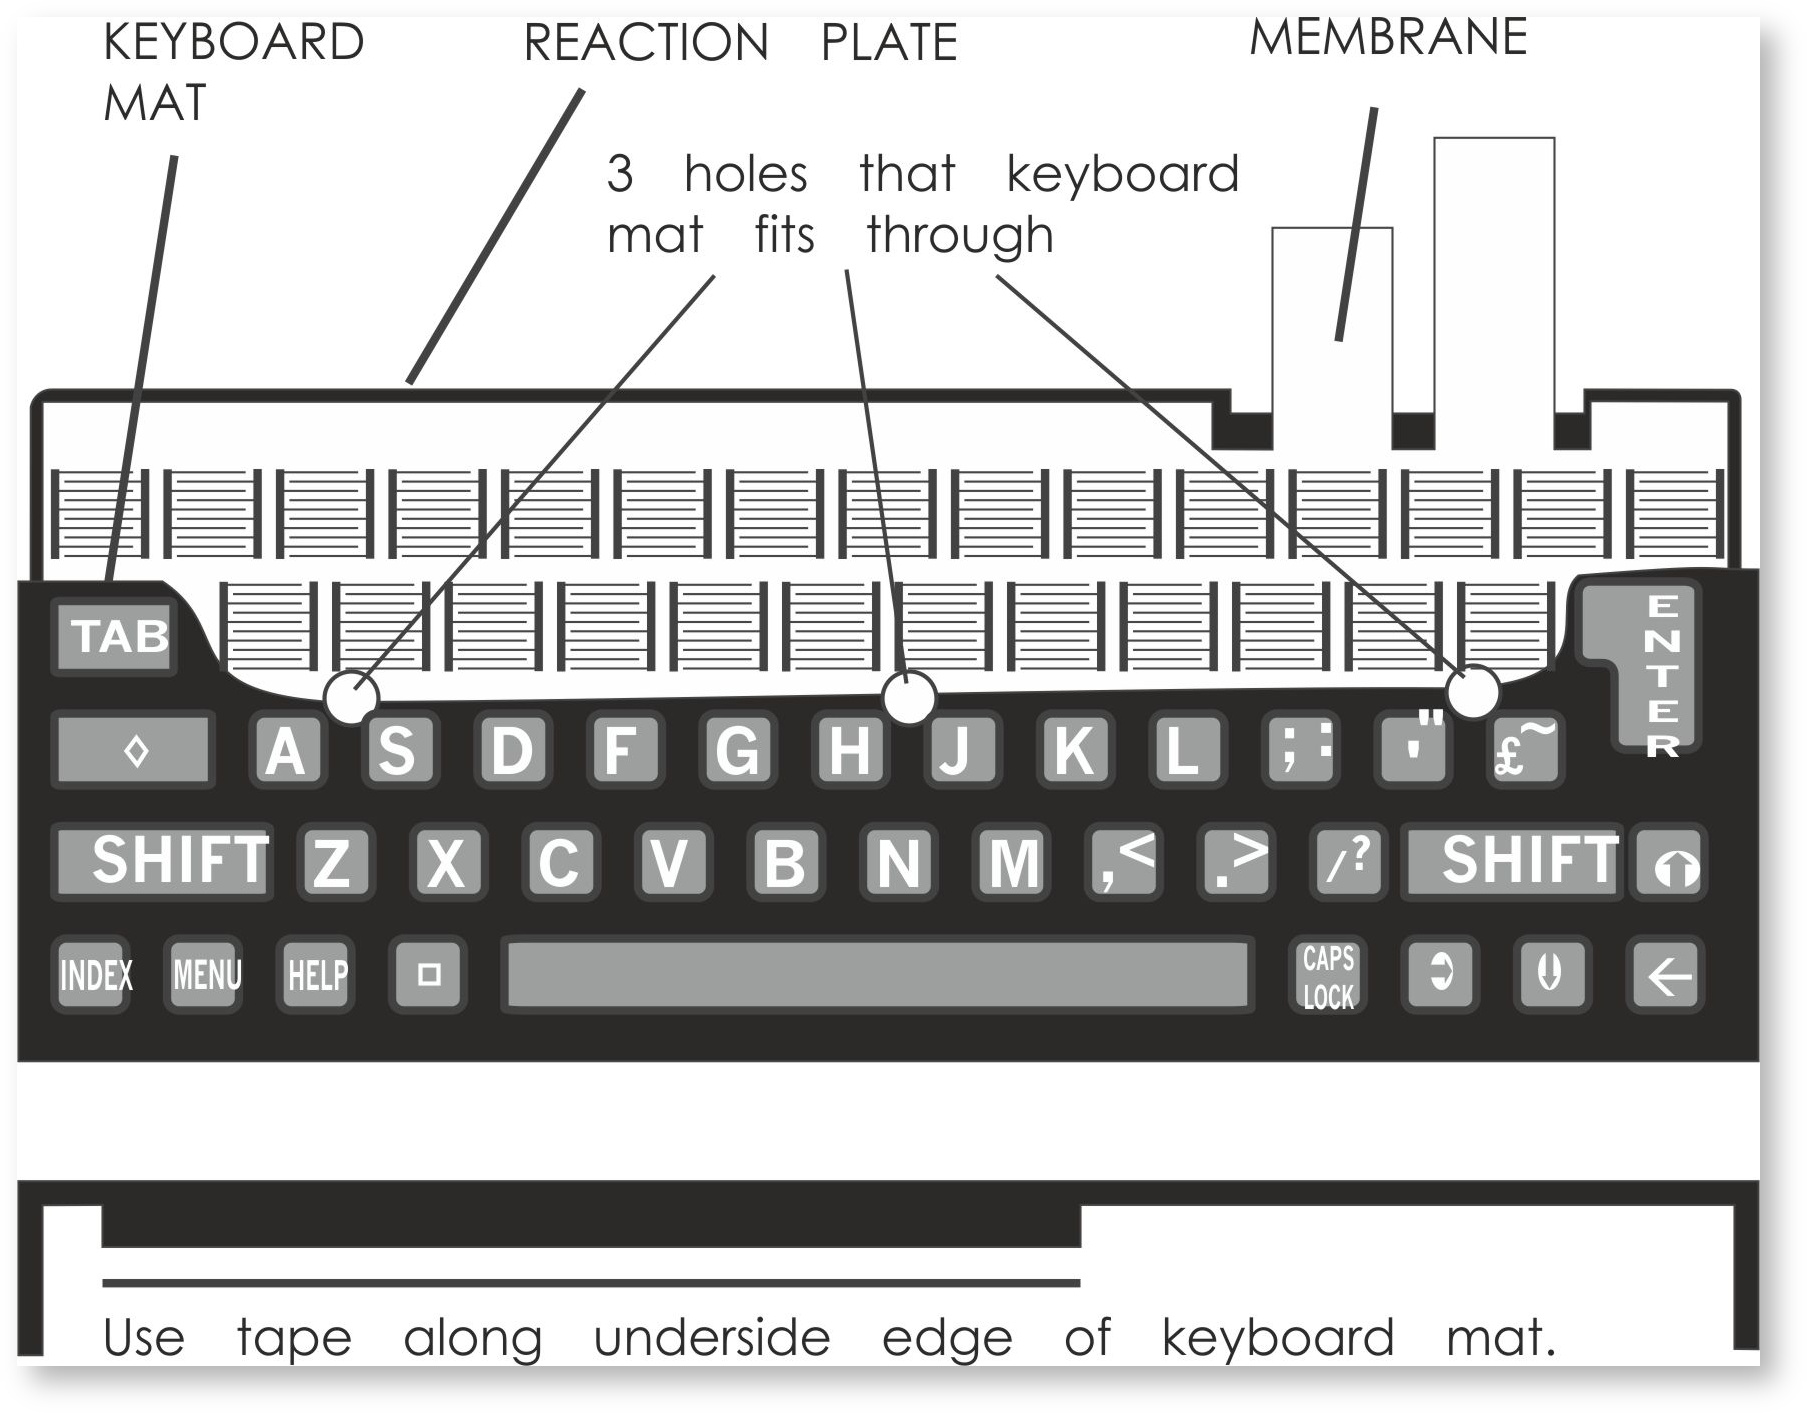
- You should now be able to lift the keyboard out, taking care not to damage the rubber mat that is under the display bezel and disconnect the flat plastic connector from the main board..
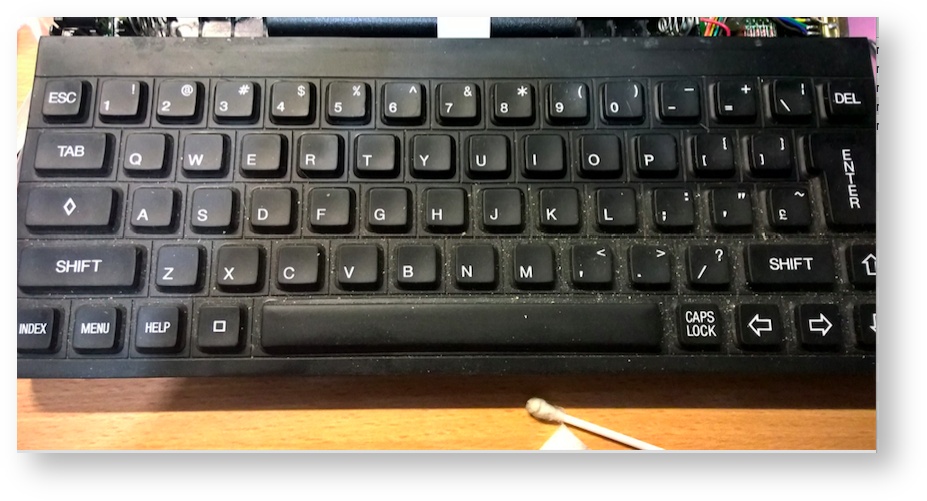
- This is the point where you should Change Keyboard.
- Move the Serial No. label under the plastic leg to a different place. This should reveal another screw.
- Remove the remaining FIVE screws
- Get hold of the Z88 by the front and rear case, roughly level with the power socket hole and the Serial Port socket and turn it over, gripping hard to keep it together. Remember, you have just taken out the screws. There is nothing holding it now.
- Carefully remove the top case. That is where the display is first.
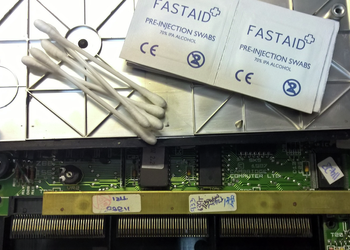
- Remove any RAMs, ROMs or EPROMs from the card slots.
This is the point where you can change the Card Flap or clean the Card Connectors - Disconnect the display unit from the main board.
- Remove the display unit. NOTE PUT THIS IN A SAFE PLACE. IT IS FRAGILE AND THE MOST EXPENSIVE PART TO REPLACE.
- Remove the battery clips from the plastic lugs
- Take the Serial Port connector out of the plastic moulding.
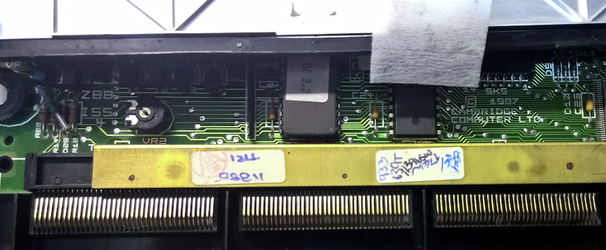
- Carefully remove the main board from the bottom case.
You should now have the Z88 all in bits.
Putting it back together again
This is the reverse of the above with the following points.
- Now that everything is out, why not clean the inside of the case, the display unit and the keyboard.
- Check for Case Damage.
- If you have taken the batteries out, put them back in after the Z88 has been assembled.
- When replacing the keyboard, take care not to bend the membrane connectors. Lay them on the resistors and push them up into the connector with your finger.
- Check that the Z88 works (with the Mains Adapter if the batteries have been removed) before putting in the ELEVEN screws. That will save you taking them all out again if it doesn't work.
- Check that the leg from the Reaction Plate is holding the Card Flap correctly.
- Make sure that the wires to the battery clips do not get trapped between the top case and keyboard.
- Use the same thread in the plastic case that was created before by just using the weight of the screwdriver on the screw whilst turning it anti-clockwise. When the screw drops into the start of the thread, you can then tighten it up.
- Do NOT do the screws up too tightly. It is easy to damage the thread in the plastic.
- Do not move the Serial No. label back over the screw hole. Leave it where you moved it to.