Eazylink Mode
Prerequisites
- Desktop Installation
- Connect the Z88 (or BBC Micro) to the Desktop
- Starting Eazylink on the Z88
- RAM or Flash card large enough to receive and store all the files required.
Start Eazylink2.
Start Screen
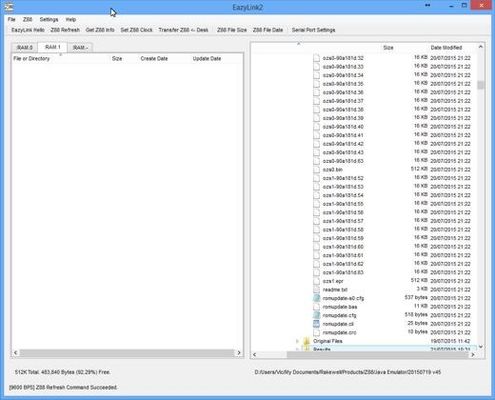
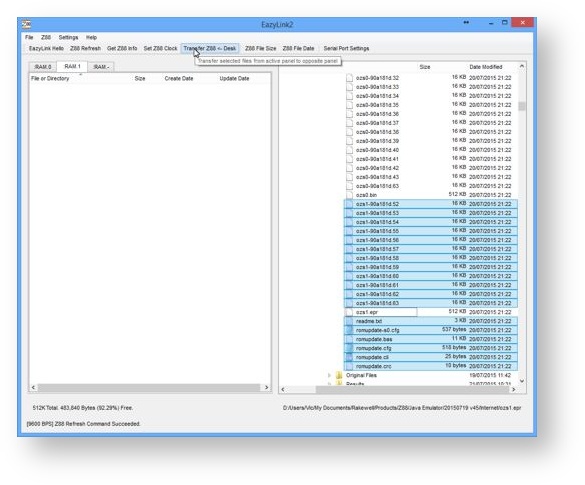
Here is a picture of the blank screen you should see. The left-hand window is used to show the files on Z88 side. There are no files on this Z88, hence the blank screen, but that will change soon.
Running for the first time
Follow this procedure:-
Quick Menu
Most of the following commands can be selected from this menu. Select
EazyLink Hello
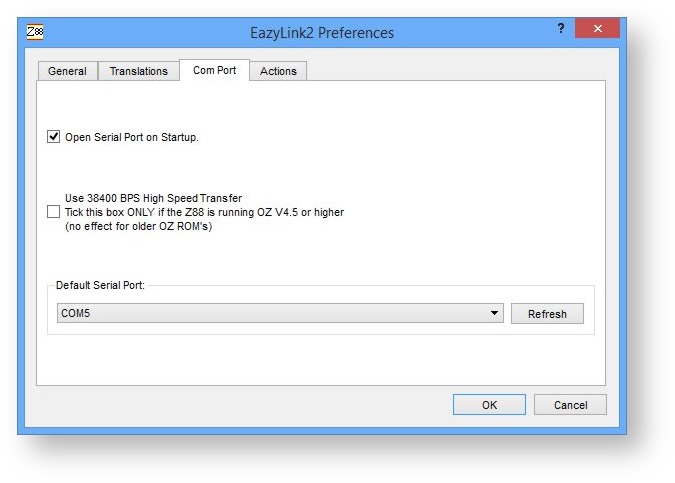
The first time Eazylink is connected to the Z88 the Com Port window is displayed. This can also be selected with the
Serial Port Settings
An intelligent guess is made at which Serial Port is being used. Here is your chance to check that the correct one has been selected. In this case Windows is using COM 5.
If the Eazylink pop-down is running under OZ 4.5 or above, selecting the "Use 38400 BPS High Speed Transfer" will enable this.
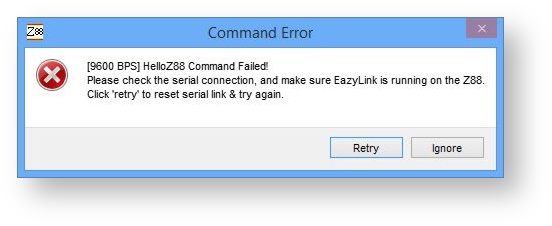
Command Error
You may initially get this screen
Choose 'Ignore.' and try again.
Select Z88 Device
As :RAM.1 is set as the Default Device on the Z88. :RAM.1 is selected. If the files are to be saved to a different device, select the Tab now.
The right-hand side window showing the Desktop side is used. There is a program that can be run to check that the connection is working correctly.
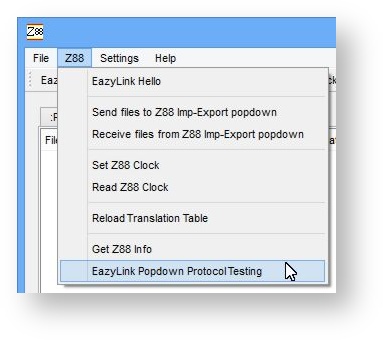
Eazylink Popdown Protocol Testing Program
This only works when using the Eazylink popdown.
It is a useful hardware check for the USB/RS232 convertor and/or Serial port are working with the Z88.
To use it, connect the Z88 to the Desktop and run the Eazylink popdown on the Z88.
It is selected from the Z88 Menu.
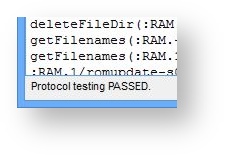
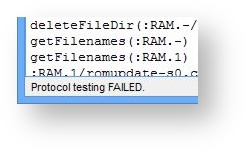
| Menu | Passed | Failed |
|---|---|---|
A report is generated which should have all TRUE statements in it. An overall test message is displayed in the bottom left-hand corner.
If there are any FALSE statements, the test has FAILED. The serial port connection is not working correctly and help should be sought.
NOTE: There are some occasions where the last command fails, due to the file in RAM.- is unable to be deleted. This is due to the file being 'in-use' and can be ignored. E.g.
CRC32 validation = true
receiveFile(':RAM.-/uploadtest01.dat') -> C:/Users/Vic/Downloads = true
CRC validation = true
deleteFileDir(':RAM.-/uploadtest01.dat') = false
You will see another deleteFileDir commands further up the list that has passed.
If this occurs, do a HARD RESET on the Z88 to clear the 'file in use' error before using the Eazylink popdown again.
WARNING -No point going any further!
There is no point going any further until the protocol testing program passes all the tests (except the last one). Go to Problem Solving Area to get some clues there.
Z88 Commands
Z88 Refresh
If the information received looks a bit suspect try using this command.
Get Z88 Info
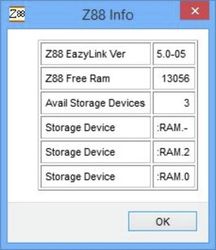
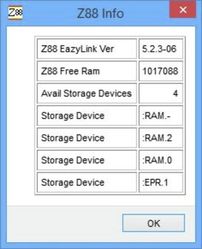
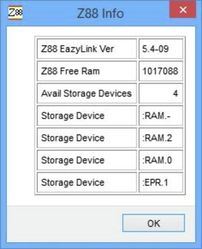
Let's find out what is running at the Z88 end and discuss what facilities you are able to use..
| 5.0-05 Protocol 5 - OZ 4.2 | 5.2.3-06 Protocol 6 | 5.2.3-09 Protocol 9 OZ 4.5 |
|---|---|---|
|
|
|
| Transfer files to/from RAM. | Transfer files to/from RAM & Flash. | Transfer files to/from RAM & Flash. |
Set Z88 Clock
This is a very useful quick way of setting the time and date on the Z88. It is a lot quicker than setting it manually on the Z88.
Z88 File Commands
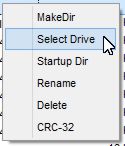
These commands are hidden. By right-clicking the mouse where the Z88 files are displayed, the following menu is displayed.
| Command | Device | What do they do? | |
|---|---|---|---|
Make Dir | :RAM | Creates a Directory. | |
| Rename | :RAM | Renames a File. | |
| Delete | :RAM | :EPR | Delete File. |
Z88 Make Directory
If a directory needs to be created, create it now.
Z88 Rename
If a file needs to be renamed, select that now.
Z88 Delete
By marking a or some files before selecting this will delete those files.
Transferring Files
There are two methods of transferring files.
- Using the menus above - the method described here.
- Drag and Drop
While files are being transferred, a progress window is displayed. Please wait for this operation has finished before selecting the main window.
Using the Menus
- In the Z88 or Desktop window, select the files to be transferred.
- In the opposite window, select the Device and/or Directory that the files to be transferred to
- In the Z88 menu line, select the Transfer Z88 <- Desk or Transfer Desk -> Z88
Drag and Drop
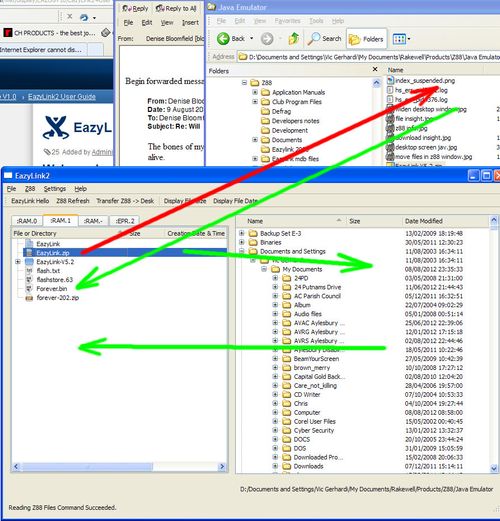
Directories, individual or multiple files may be selected, dragged and dropped between the Z88 and Desktop or visa-versa windows. They may also be dragged from other program's windows e.g. Windows Explorer into the Z88's window, but not the other way around. When illegal transfers are attempted, a 'no waiting' symbol is displayed in the target's window.
Source Filename Error
If the Desktop's filename doesn't comply with the Z88's filename of 12.3 format or uses illegal characters, the user is invited to change the name before the transfer can take place. See 'Specifying Z88 file names in full' for more details.
Send files to the Z88
Z88 Select Device
As the Default Device was set to :RAM.1 on the Z88, this device is already selected. If a different device is required to save the files to, change it now by selecting a different tab.
Desktop Select Files
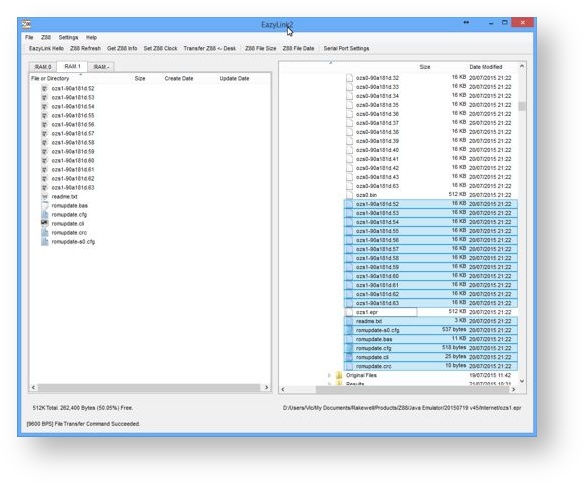
In the Desktop window select the files to be transferred
Selection exceeds Device Size
Note: Notice missing file
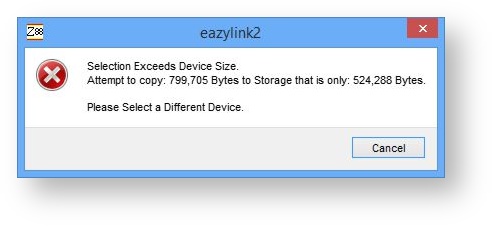
Have you noticed that there is a file not marked in the list? This file is a 512K binary file for the complete space. If this was selected, there would not be RAM on the Z88 to store them. Before files are transferred, a calculation is made to check if there is enough space to save all the selected files. This is the message received (with different values) if there is not enough room.
Transfer Z88 <- Desk
Click on the "Select Transfer Z88 <- Desk" button
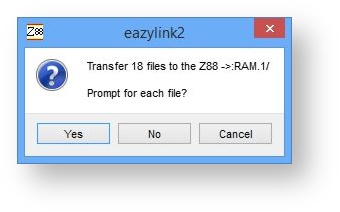
A prompt is given, just to make sure this is what you want to do.
Select No to save prompting,
Progress may be monitored viewing the bottom of the screen.
together with the speed of transfer and the full file name showing a very long directory tree.
At the end of this the following screen will be presented with the transferred files also shown on the Z88.
The file names are there, where is the size, Create Date and Update Date gone?
Z88 File Size
As these take some time to collect this information, they are selected separately with the buttons on the top menu.
Z88 File Date
Here are all the columns listed.
Desktop File Commands
All the desktop commands are hidden.
Make Directory
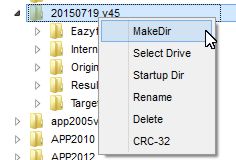
If a directory needs to be created, create it now. On the Desktop side, click on a directory, then right-click to show the pop-up menu, then select MakeDir.
The Make Directory dialogue box appears where you need to choose its name.
Select Drive
Disk D: is already selected. If the files are to be saved to a different device, select the Tab now.
Receive files from the Z88
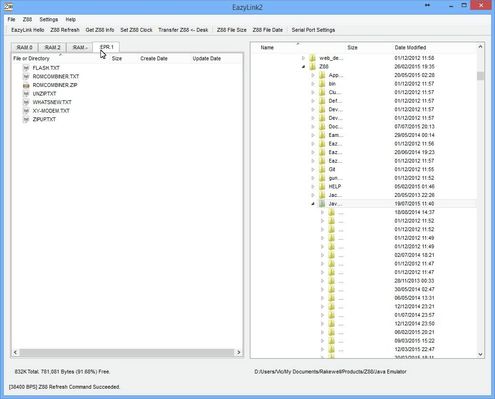
Going back the other way is just as simple but for a change we'll get the files straight off the File Area in the Flash Card.
Z88 Select Device
in this case EPR:1
Select Desktop Directory
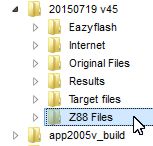
If a directory is required, select that now. Click on the "Z88 files" directory.
Select Desktop and Files
Select which Directory and files to be transferred.
Z88 Mark Files
Mark all the Z88 files,
then click on Transfer Z88 -> Desk
Transfer Z88 -> Desk
Select No.
Z88 File Size
As before, these take some time to collect this information, they are selected separately with the buttons on the top menu.
Z88 File Date
Not Valid
The File Date is not stored for files that are in the File Area of EPROMs or Flash Cards. The command only works if RAM is selected

